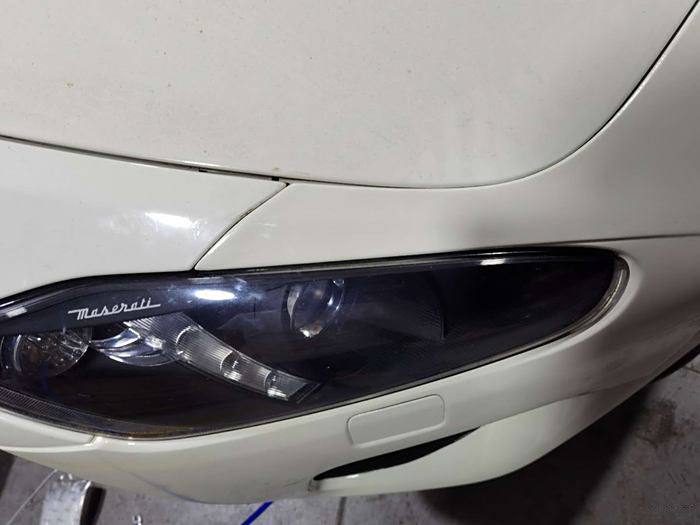
Today, I changed a set of clothes for my beloved car and became more than ten years younger. Wrap kit accessories including:

1. Remove the wheel hub first

2. Remove the front lining of the blade

3. front section of the blade Lining

4. Loosen the headlamp screws and move the headlamp back. So easy to install front bumper screws

5. Loosen the headlamp screws and move the headlamp backward. Then removal hiden the two screws

6. Remove the cover of engine compartment

7. Remove screws from the top of the front bumper

8. Remove screws from the upper front bupmer

9. Remove the screws at the bottom of the front bumper and the screws at the lower guard plate

10. Remove the screws on the bottom of the front bars and the screws on the lower protection plate

11. Remove the screws on the side of the front bumper

12. Unplug the electric plug

13. Remove the water bottle pipe and should pay attention to the water flowing out


14. Remove the front bars completely

15. Remove the air hood behind the center net, and the entire front bumper is removed

16. Remove the iron mesh and rubber strips from the air hood and install them on the new air hood

17. Install the new front bumper air mesh

18. nstall the left and right air mesh bases, press them, and secure them with screws.

19. Replace the original car`s reinforced iron

20. Remove the front bumper foam

21. Remove the water hose from the original car

22. Remove headlight water spray, car radar, radar harness

23. Install the new grid

24. Install the internal grid

25. Install radar, headlight spray kit

26. Installed radar, headlight spray kit.

28. Install front bar foam, it should be noted that the original foam is slightly larger, the foam needs to be reduced before installation

29. Accessories are basically installed

30. Install the lower lip of the front bumper

31. Install the new air hood

32. Reinstall the front bumper headlights in the sequence of removal

33. Install two front screws hidden inside the headlights

34. Changed front bumper foam

35. Install screws for the lower protection plate

36. Installed screws for the lower protection plate

37. Installation Completed

38. The lower protection plate is installed

After Upgrade Effect:
100% fit, simple installation and direct replacement without modification.
excellent, I`m very satisfied with details


